.png)


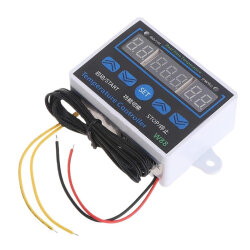
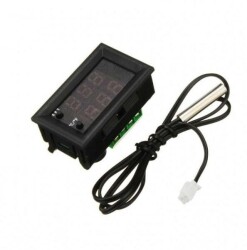
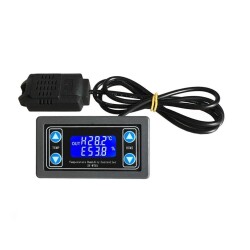
XH-W1411 W88 DC12V 10A Digital Thermostat with Relay Output
XH-W1411 W88 DC12V 10A Digital Thermostat with Relay Output
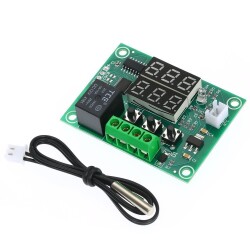
The XH-W1411 W88 DC12V 10A Digital Thermostat with Relay Output is a digital thermostat module that can be used in smart home projects, incubators, and cooling and heating systems. It is easily controlled using the buttons on the device.
Features
- Supply Voltage: 12VDC
- Nominal Current: 10A
- Temperature Measurement Range: -55 ~ 120°C
- Margin of Error: ± 0.3°C
- Temperature Control Range: -19 ~ 99°C
- Accuracy: 1°C
- Probe: NTC10K
- Probe Length: 1m
- Panel Size: 90x60mm
Operating Modes
1- Thermostat Mode
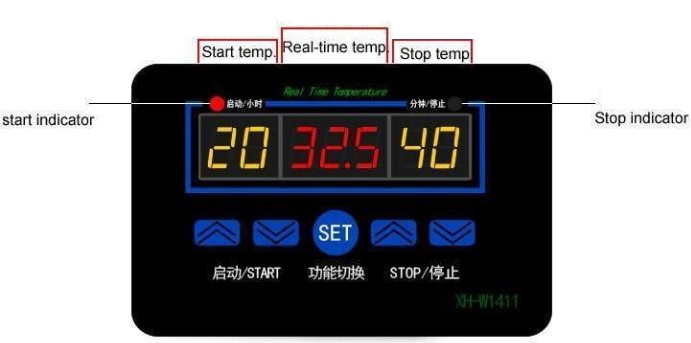
The left display shows the starting temperature. The right display shows the stopping temperature. The middle display shows the current measured temperature. Temperature settings are made with the buttons located under the left and right displays.
Heater Mode:When the left display setting value is lower than the right display setting, the device operates in heater mode.
Cooler Mode:If the right indicator setting is greater than the left indicator, the device operates in cooler mode.
Indicator: If the left red LED is lit, the relay is activated and the device is heating or cooling. If the right green LED is lit, the relay output is off. This means that there is no heating or cooling operation currently in progress.
Reset: To restore factory settings, turn off the product's power. Press the up and down buttons on the right side simultaneously to power up the device. After a while, a warning beep will sound and the product will start operating with its settings reset.
Calibrate: If you suspect an error in the temperature measurement, you can calibrate it. While the power is off, press the Set button to turn the power back on. You can set a value between +10 and -10 degrees on this screen. If you think the temperature reading is 1 degree too high, enter -1 here. Then, long-press the Set button. When you release it, the device will return to the normal operating screen. The temperature will be displayed differently depending on the value you entered, and the thermostat will perform its operations accordingly.
2- Timer Mode
Pressing the Set button on the product will enter operating modes F1, F2, and F3. In these modes, the relay's on and off times can be adjusted based on time.
If you want to turn off the product while it's running as a timer, long-press the Set button. After 3 seconds, the product will shut off. If the set button is pressed again, the product will start operating.
F1 Timer Function.The product operates as a timer relay with two variables in minutes in the F1 operating function.
- The number value on the left allows you to set the relay output off time in minutes.
- The number value on the right allows you to set the relay output on time in minutes.
F2 Timer Function The product operates as a two-variable timer relay in the F2 operating function.
- The number on the left allows you to set the relay output on time in hours.
- The number on the right allows you to set the relay output off time in minutes.
F3 Timer Function.The product operates as a two-variable timer relay in the F3 operating function.
- The number on the left allows you to set the relay output on time in hours.
- The number on the right allows you to set the relay output off time in minutes.