.png)
Electronic Dice Making | Make Dice Using Arduino and LEDs
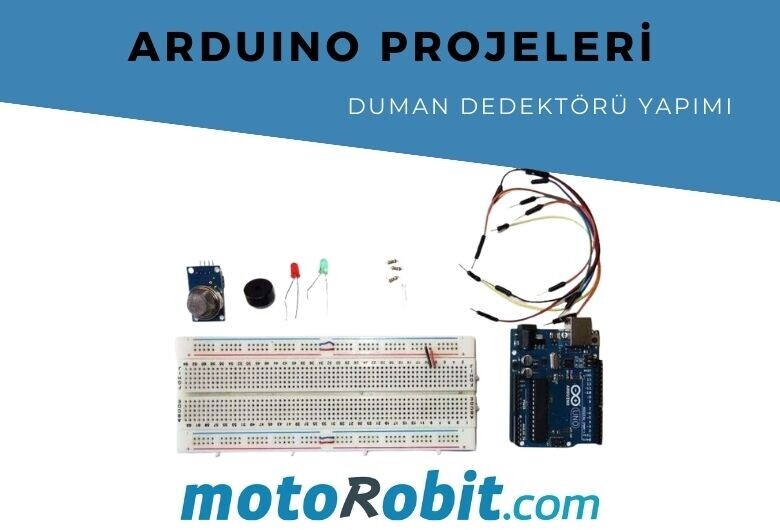
Materials List
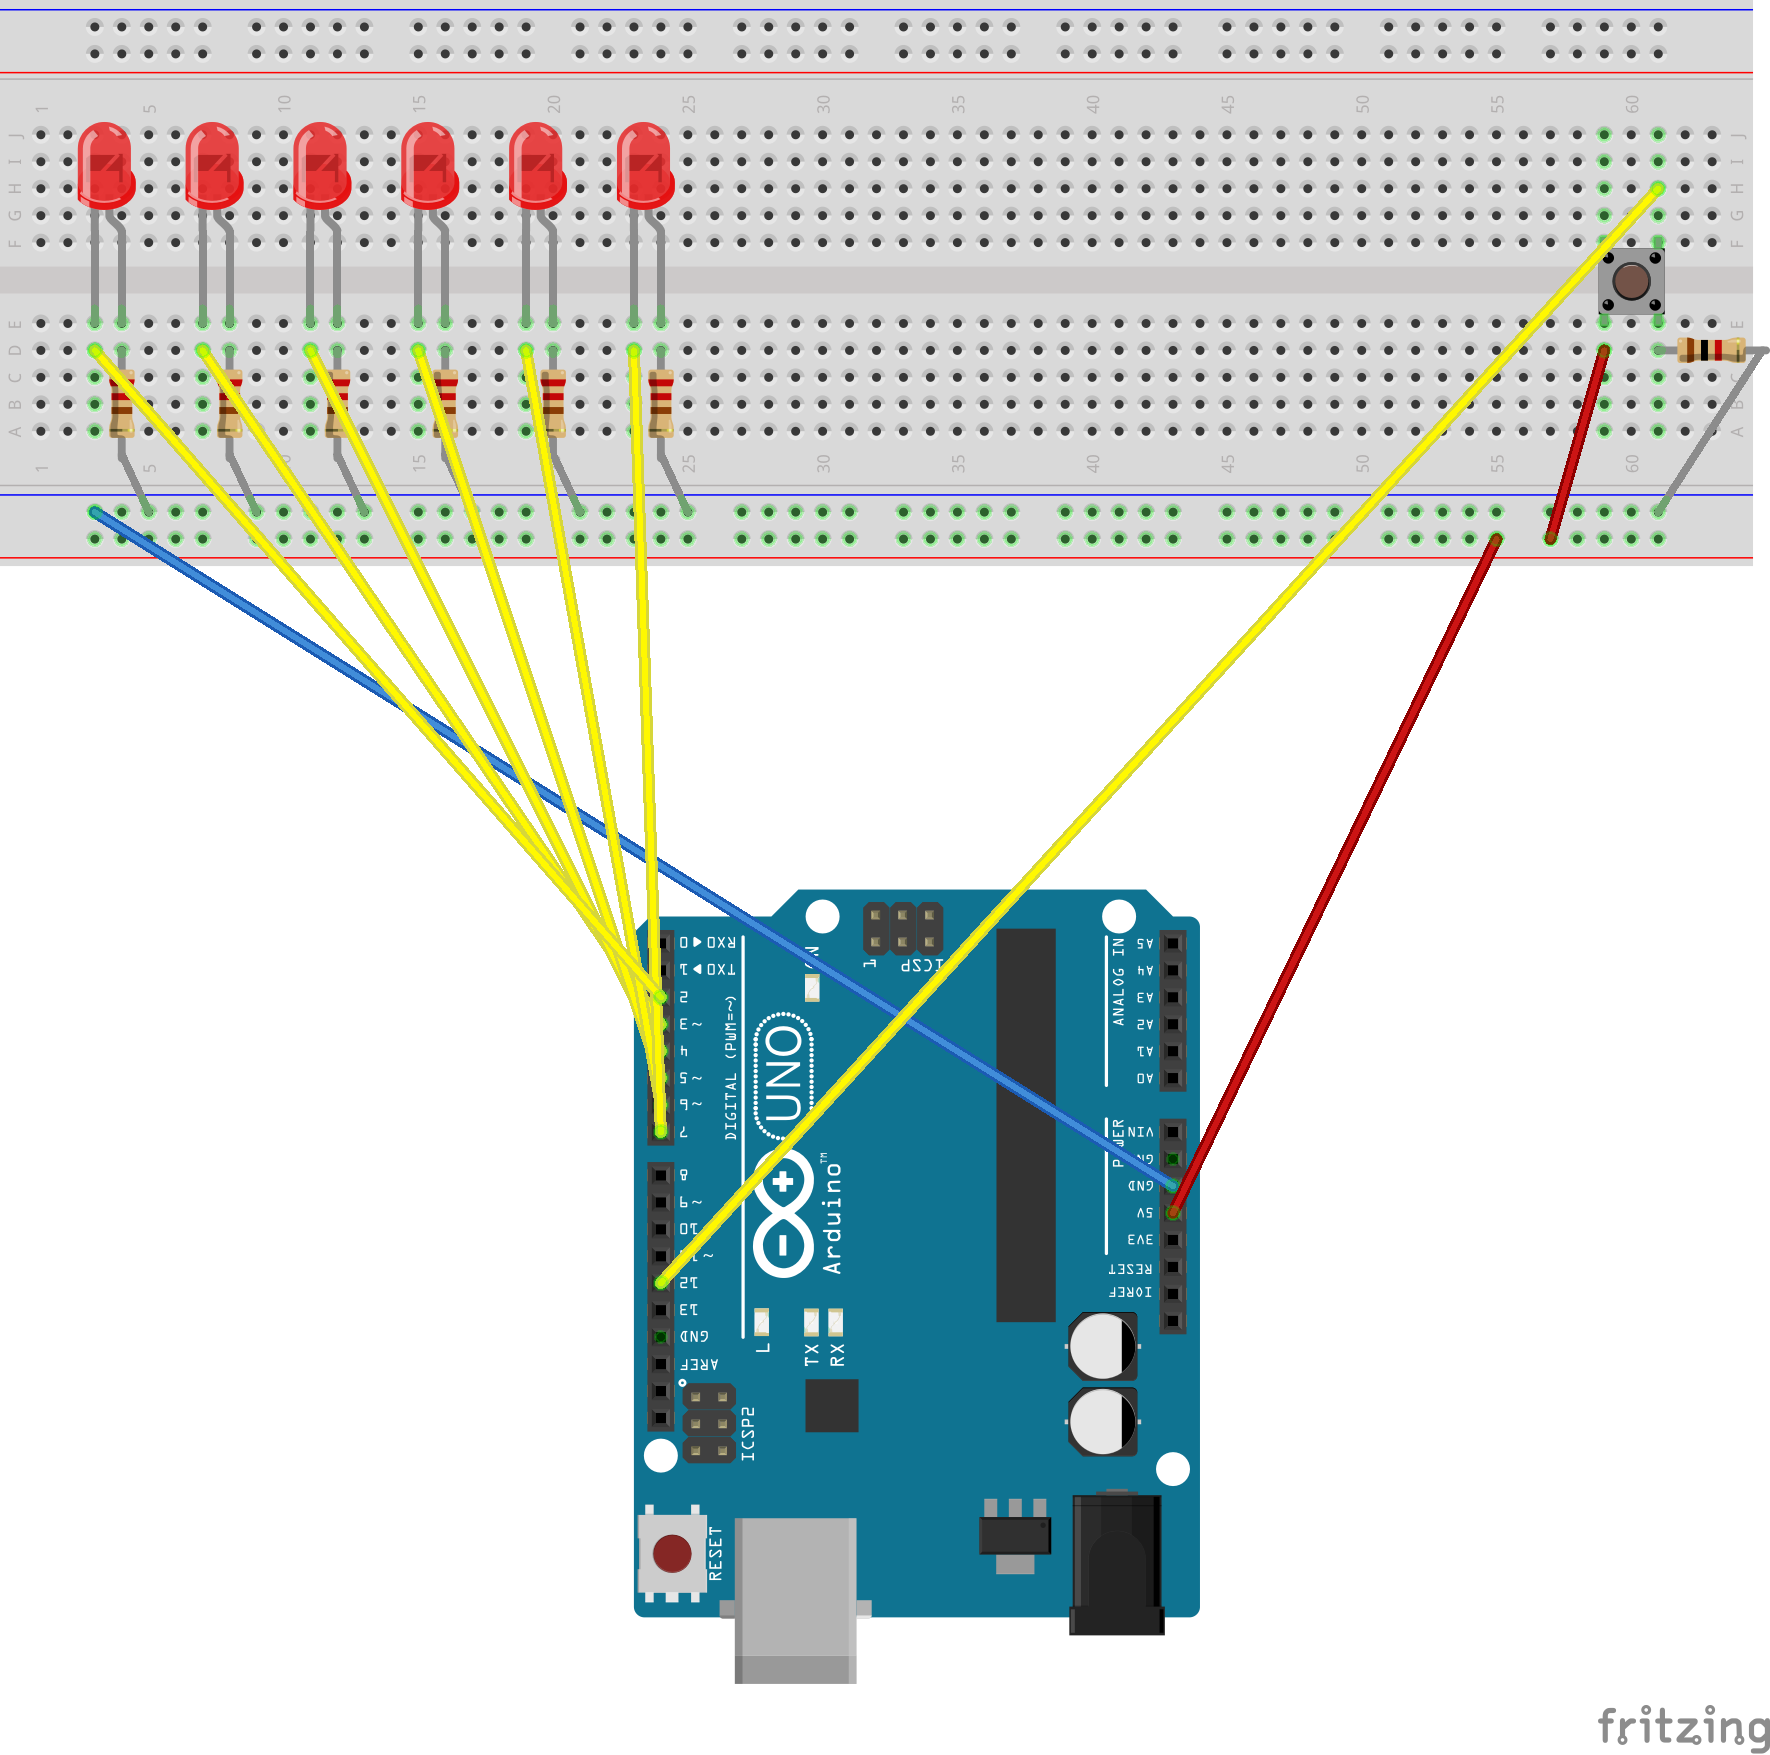
Electronic Dice Making Connection Diagram
Arduino Codes
#define DEBUG 0
// 6 consecutive digital pins for the LEDs
int first = 2;
int second = 3;
int third = 4;
int fourth = 5;
int fifth = 6;
int sixth = 7;
// pin for the button switch
int button = 12;
// value to check state of button switch
int pressed = 0;
void setup() {
// set all LED pins to OUTPUT
for (int i = first; i <= sixth; i++) {
pinMode(i, OUTPUT);
}
// set button pin to INPUT
pinMode(button, INPUT);
// initialize random seed by noise from analog pin 0 (should be unconnected)
randomSeed(analogRead(0));
// if we're debugging, connect to serial
#ifdef DEBUG
Serial.begin(9600);
#endif
}
void buildUpTension() {
// light LEDs from left to right and back to build up tension
// while waiting for the dice to be thrown
// left to right
for (int i = first; i <= sixth; i++) {
if (i != first) {
digitalWrite(i - 1, LOW);
}
digitalWrite(i, HIGH);
delay(100);
}
// right to left
for (int i = sixth; i >= first; i--) {
if (i != sixth) {
digitalWrite(i + 1, LOW);
}
digitalWrite(i, HIGH);
delay(100);
}
}
void showNumber(int number) {
digitalWrite(first, HIGH);
if (number >= 2) {
digitalWrite(second, HIGH);
}
if (number >= 3) {
digitalWrite(third, HIGH);
}
if (number >= 4) {
digitalWrite(fourth, HIGH);
}
if (number >= 5) {
digitalWrite(fifth, HIGH);
}
if (number == 6) {
digitalWrite(sixth, HIGH);
}
}
int throwDice() {
// get a random number in the range [1,6]
int randNumber = random(1, 7);
#ifdef DEBUG
Serial.println(randNumber);
#endif
return randNumber;
}
void setAllLEDs(int value) {
for (int i = first; i <= sixth; i++) {
digitalWrite(i, value);
}
}
void loop() {
// if button is pressed - throw the dice
pressed = digitalRead(button);
if (pressed == HIGH) {
// remove previous number
setAllLEDs(LOW);
buildUpTension();
int thrownNumber = throwDice();
showNumber(thrownNumber);
}
}
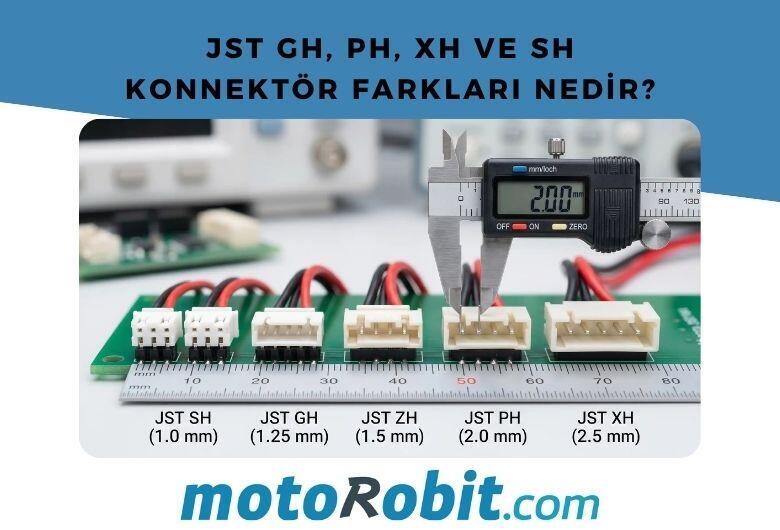
JST GH vs PH vs XH vs SH Connectors: Differences
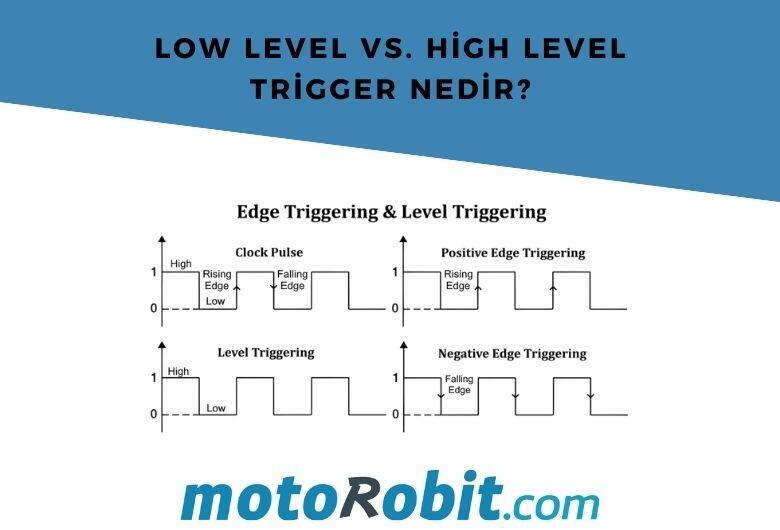
Low Level vs. What is High Level Trigger?

The Code of Numbers on Drone Propellers: How to Read Propeller Measurements?
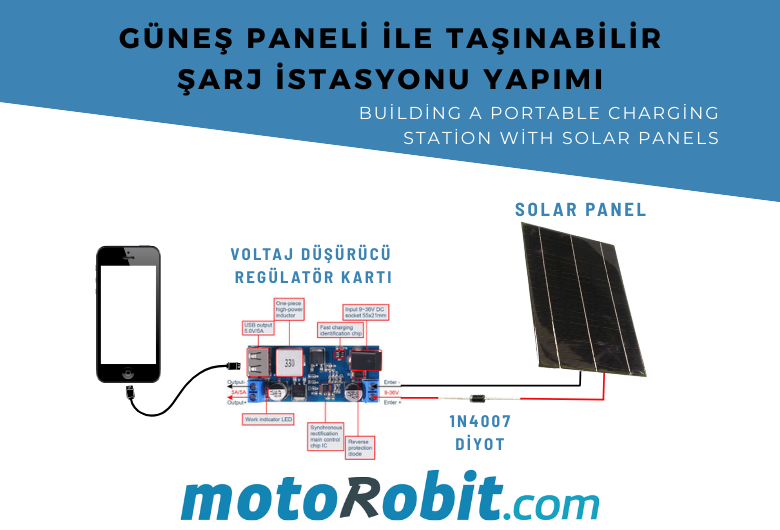
Building a Portable Charging Station with Solar Panels
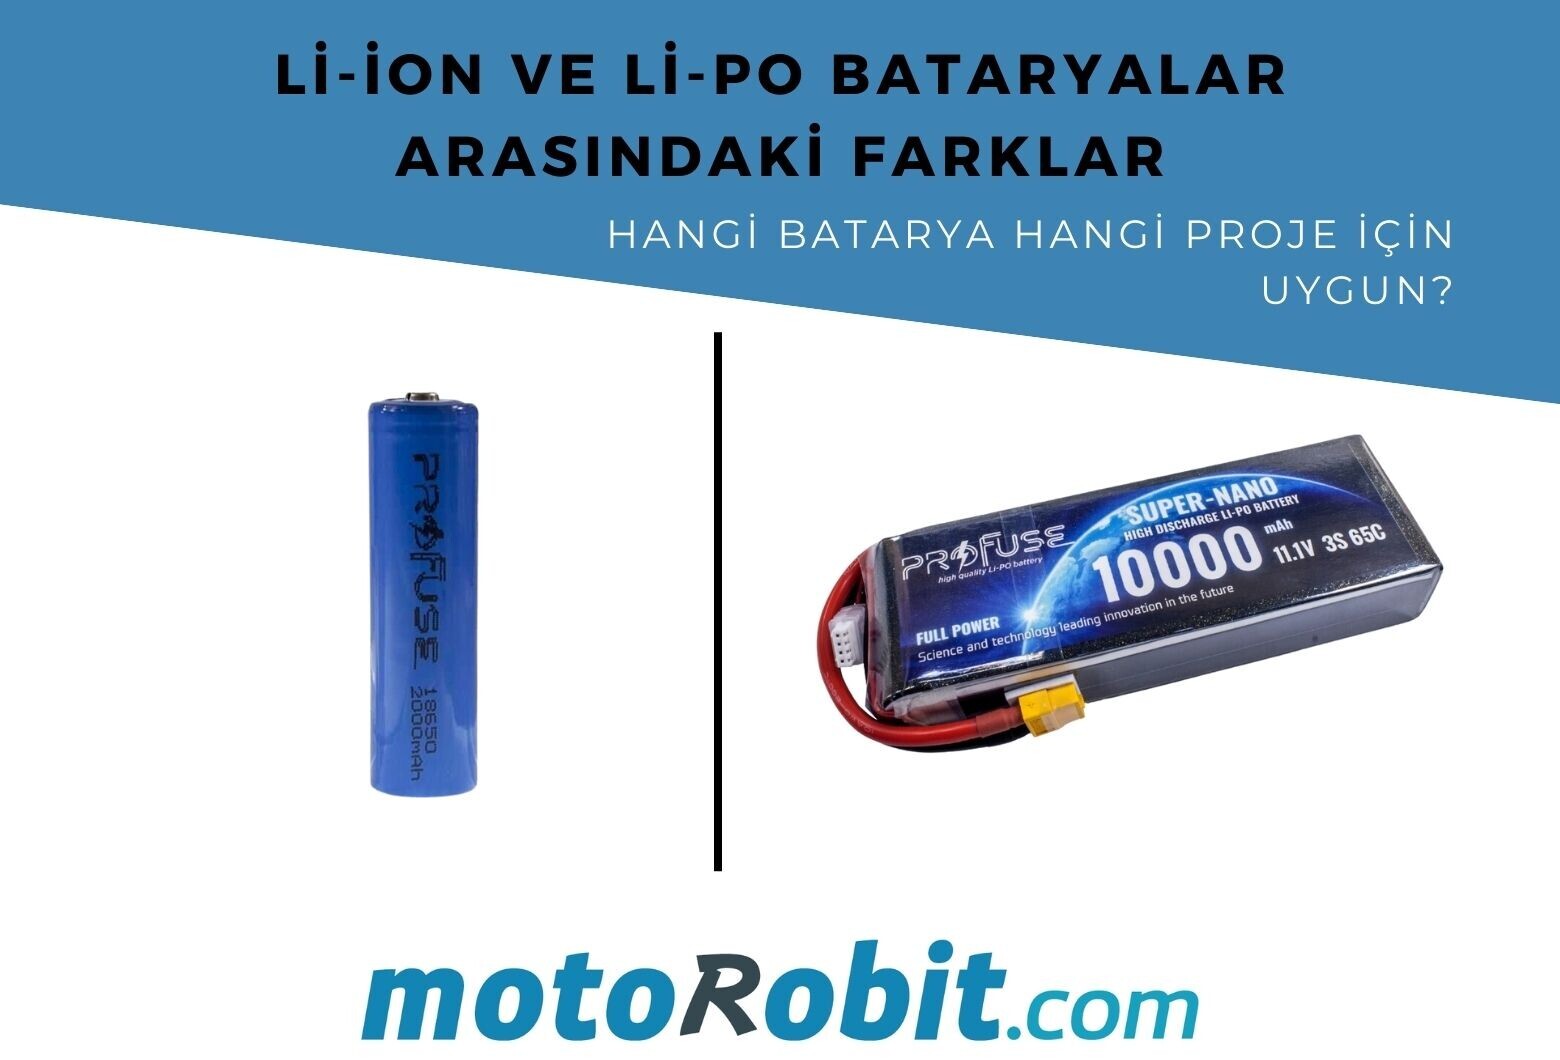
Differences Between Li-ion and Li-Po Batteries: Which Battery is Suitable for Which Project?